
We come to the final week of the current series in “Fun with Variations,” also known as the One Four Challenge. As a reminder, in the One Four Challenge, we select an image, then develop new edits – new interpretations of the original – over four successive weeks. (For more information about the One Four, visit this link. And be sure to check out Leanne’s posts.)
Before I describe what I’ve done, here is a gallery with the original and all four variations. (Click each image to see the full-screen image.)


The problem I encountered at the outset this week was, Where to go from Variation 3. I couldn’t just keep on getting more and more abstract. Then I hit upon the idea of going back and combining Variation 3 with a previous image.
I started with Variation 1. Then I added Variation 3 as a new layer on top of Variation 1. Then I adjusted the opacity of the top layer to blend it with the bottom layer. Saving the result as a new image “fixes” the image blend and results in Variation 4. Here are Variations 1, 3, and 4 in order so you can more readily visualize the progression. Again, Variation 3 is added on top of Variation 1 and blended to produce Variation 4.
Other combinations are possible; for instance, we could add Variation 3 on top of Variation 2 for a different look.
This is not a new technique. Many digital editing programs can do this, including Photoshop and Lightroom. I used Luminar Neo. In traditional photography, we could always put together two negatives and print the combination. Or we can combine two slides to produce a new one. With those methods, though, we don’t get the flexibility and sensitivity possible with digital images. In the above, I combined two (modified) versions of the same original image.
It is also possible to expose two photographs of the same subject to create the two images to be mixed. This is similar to what is called the Orton Effect. In camera, we make two exposures of the subject. For the second, we intentionally overexpose the photograph somewhat and shoot it slightly out of focus. Then this second exposure becomes the top layer blended with the first image. The result of the Orton Effect is an image with a greater degree of softness.
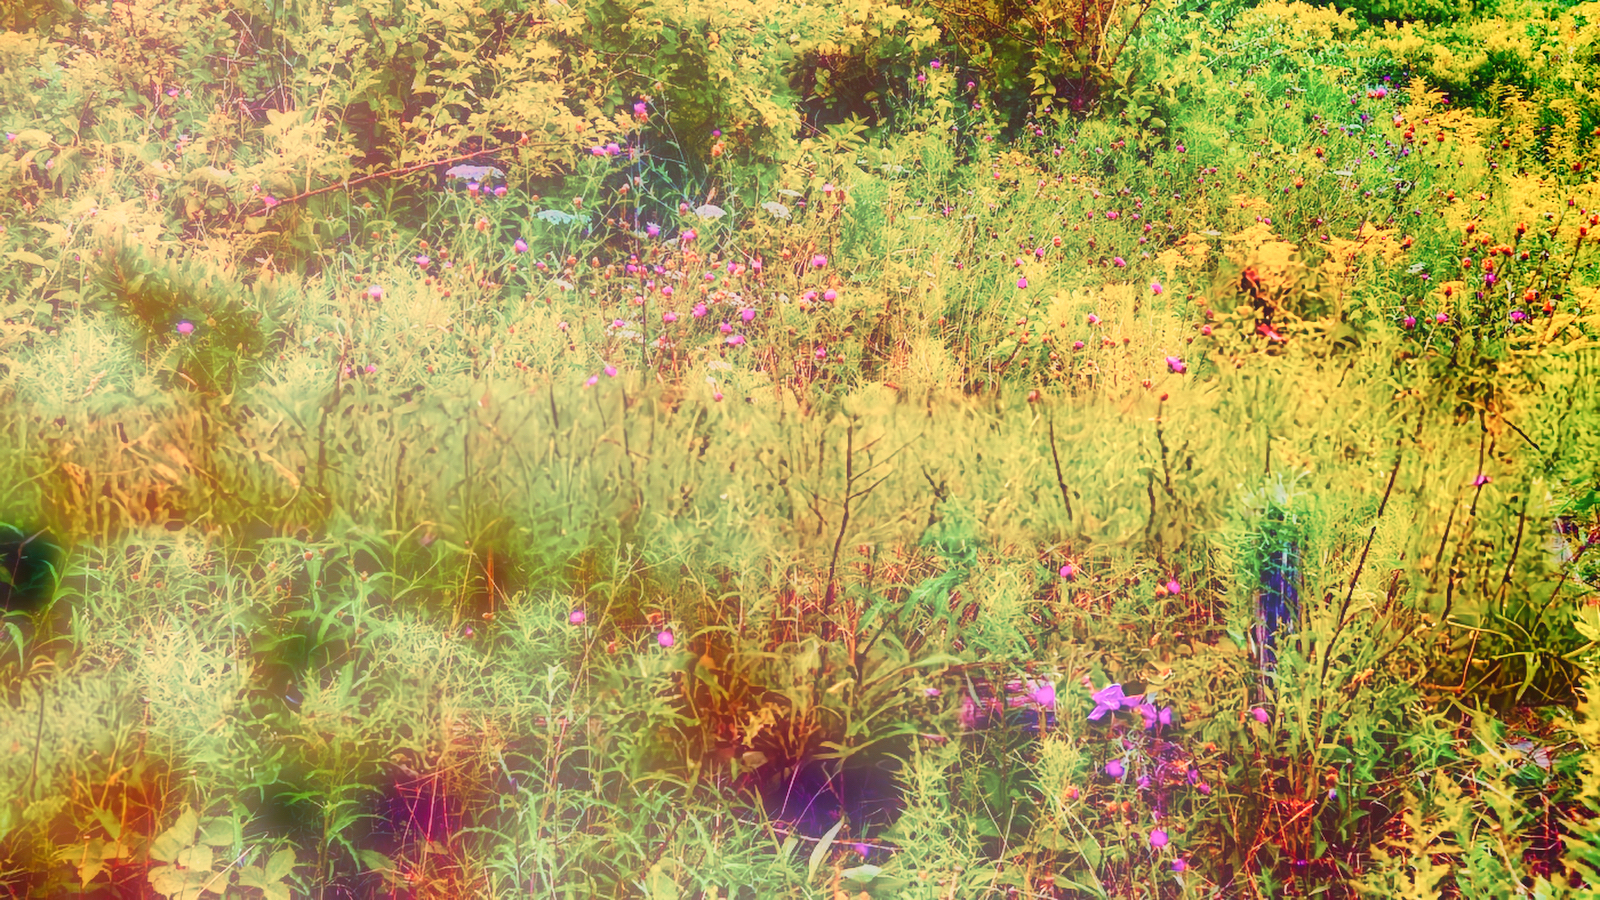
The Orton Effect can also be simulated with a single image, as follows. Starting with Variation 1, I made a duplicate of the image. In the duplicate, I increased the exposure slightly. Then I added a Gaussian Blur. (A Gaussian Blur is a method whereby a certain mathematical function is applied to an image, significantly softening the image. The editing program can usually create a Gaussian Blur.) Then the edited copy of Variation 1 is applied as a new blend layer on top of the original Variation 1. This is an example of the result. The possibilities are limitless.
Let me know if you would like more information on this editing technique and the Orton Effect.

This concludes the September edition of the One Four Challenge. Next week we start with a new original; I hope to see you visiting then! Meanwhile, have a great week!

Leave a ReplyCancel reply